I love a good dessert, but if I’m going to expend the calories it better be a DAMN good dessert. No donuts or office birthday cake for me. Gotta be something clutch.
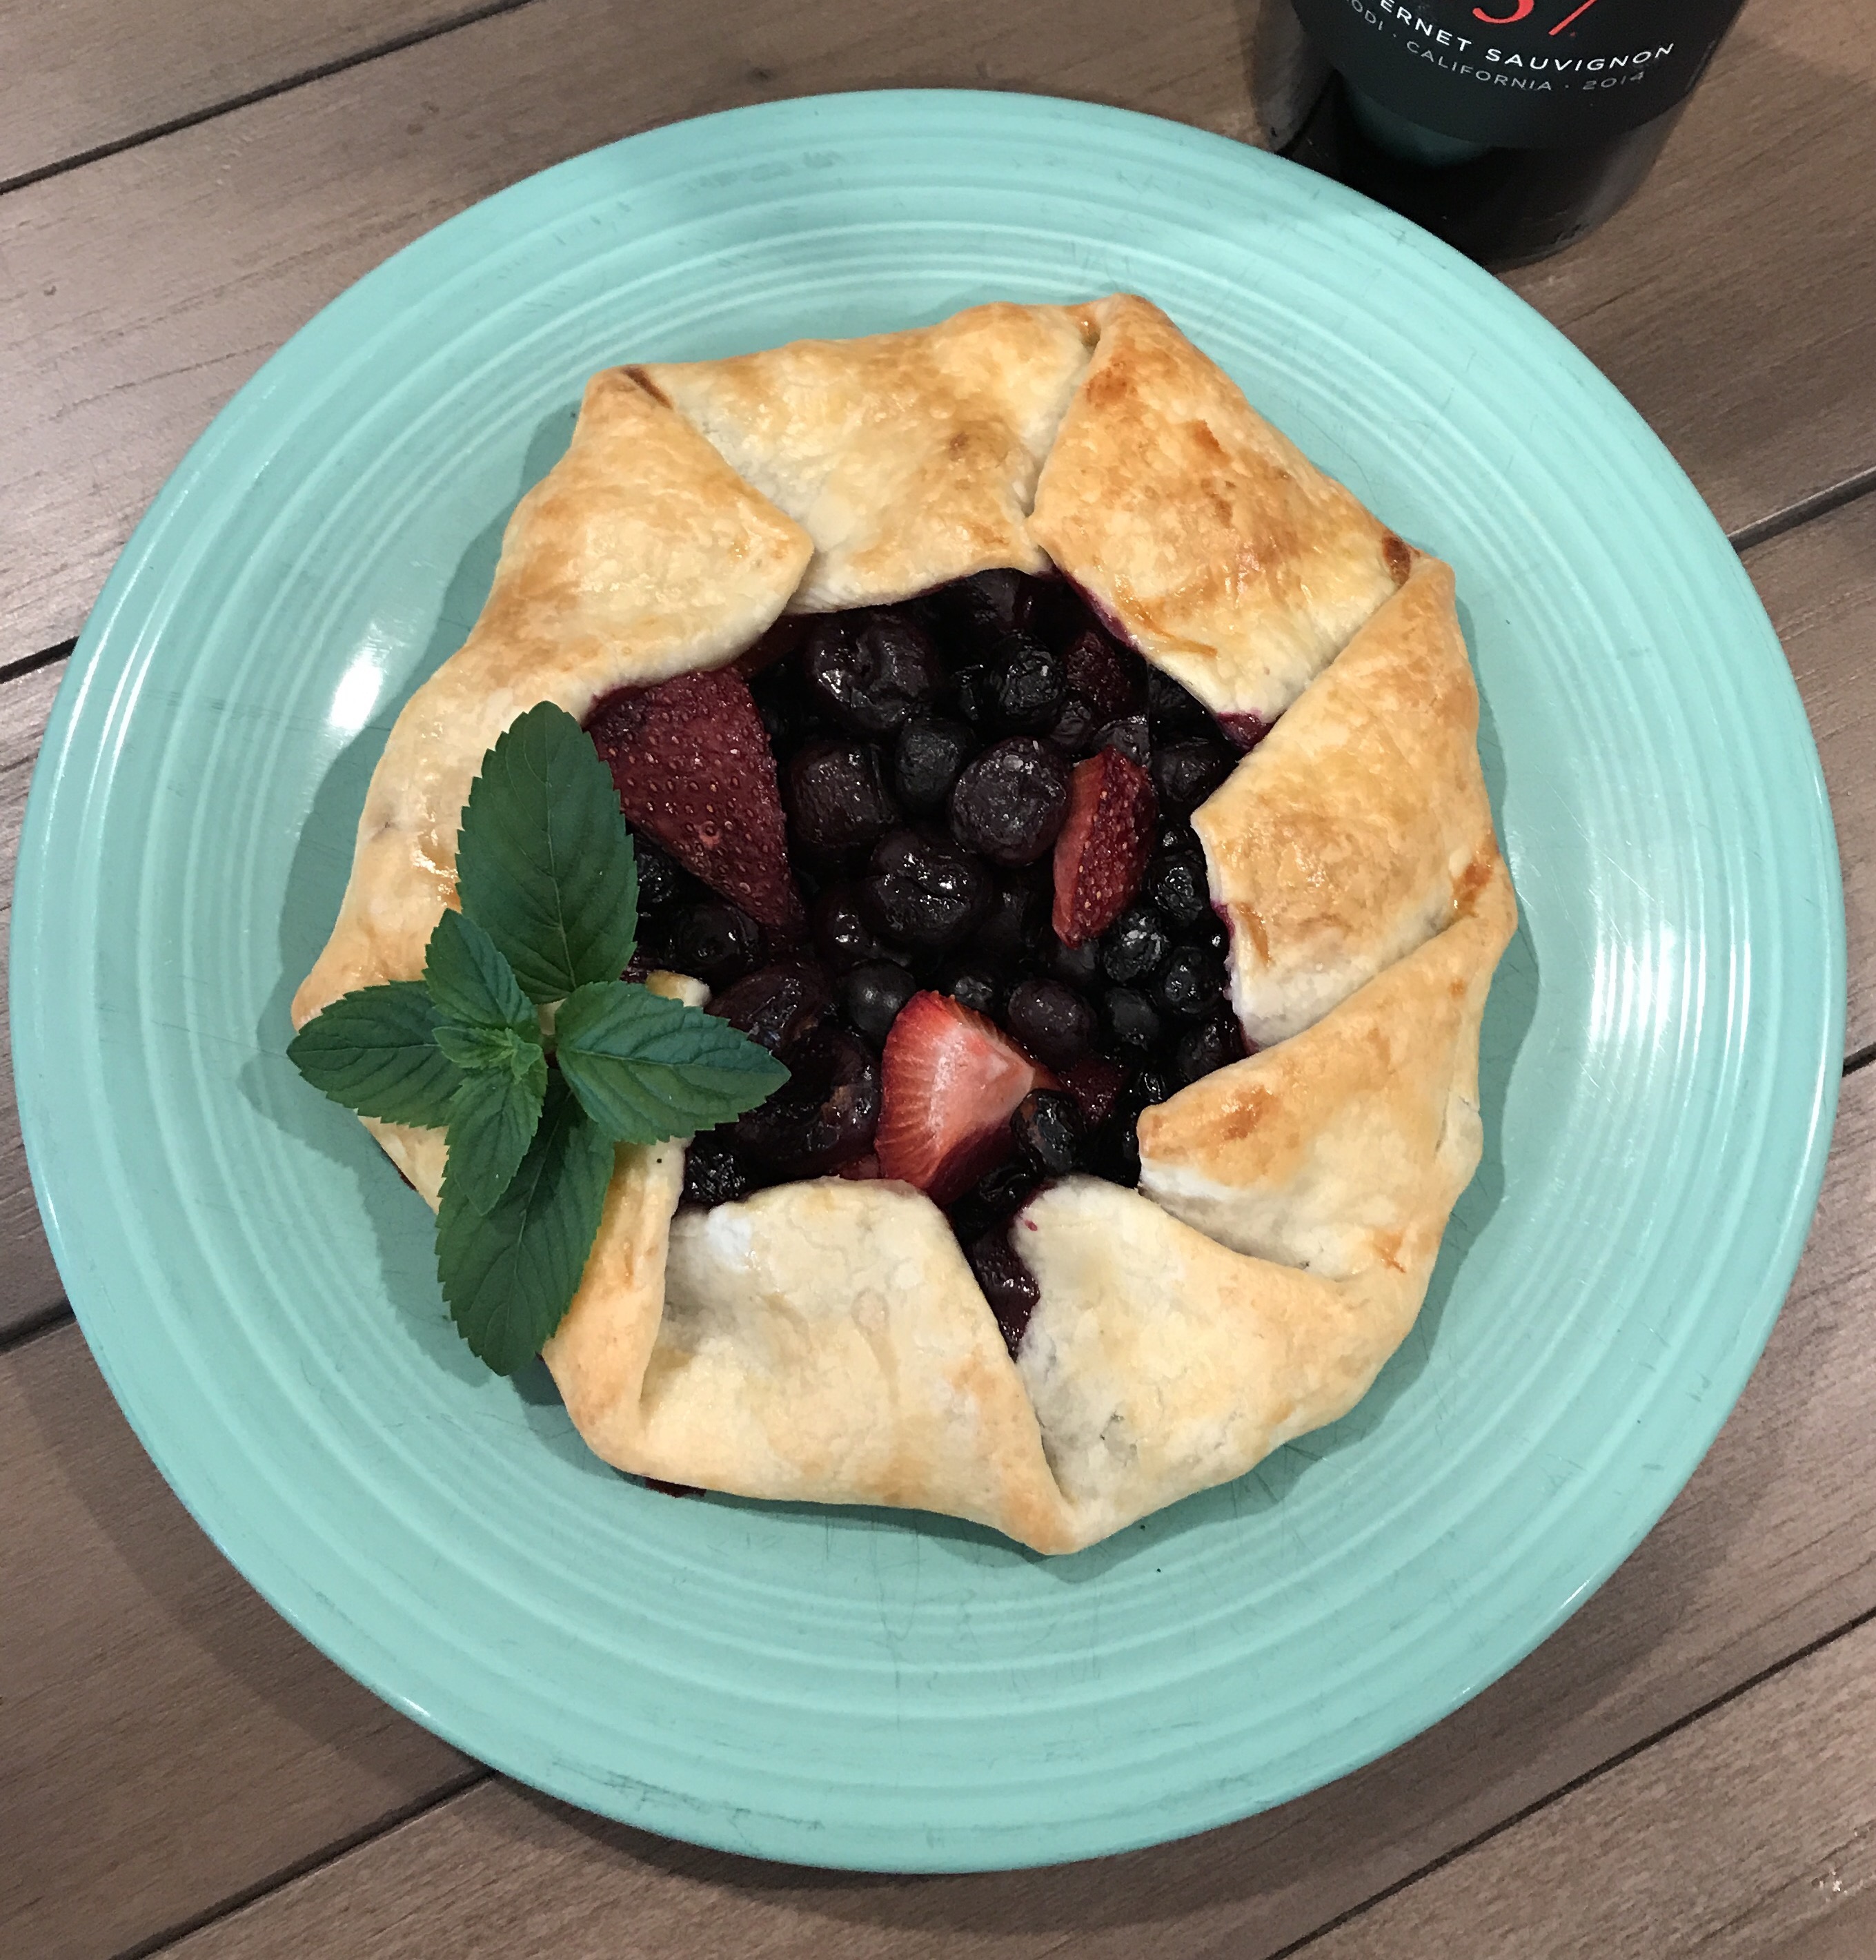
I made these galettes last week while my book club girlfrans drank wine and gathered around my kitchen island. A galette is basically a free form pie, which effectively solves the crust-to-filling ratio problem we all bemoan. It was an easy dessert that looks disproportionately gorgeous compared to how fast it comes together. Seriously, if you use fruits that don’t require prep (raspberries, blueberries, or blackberries) it’ll be ready to bake in 3 minutes. This is also one of those recipes that’s great if you have a bunch of fruit that’s passed its prime. The pie application will give them new life!
Borrow one from Sandra Lee’s book and pick up a pre-made pie crust from the refrigerator section of the grocery store. I’ve included a recipe for insanely delicious whipped goat cheese, but no shame in using a tub of Cool Whip or a scoop of Bluebell. This is about getting maximum impact while expending minimal energy. I have lots of gatherings the rest of this 4th of July weekend, so I plan on making about 8 more of these in the next few days.
(Recipe makes 2 galettes. Each galette serves 4 non-dieting people).
You’ll Need
- 1 package of pre-made pie crusts (should include 2 crusts in the pack. Buy the kind in a flat box, not the ones in a pie crust).
- 4 heaping cups of fresh or thawed frozen fruit. Strawberries, blueberries, cherries, raspberries, blackberries, peaches, or a combo (highly recommended) will be good
- 3 tablespoons of sugar
- 1 tablespoon of cornstarch
- Kosher salt
- 1 egg
- 4 oz of plain or honey goat cheese, set out for an hour or so, so it’s room temperature
- 3/4 a cup of heavy cream
- Fresh mint (optional)
Method
- Thaw pie crusts if they’re frozen. Unroll on a lightly floured surface.
- If your chosen fruit needs prep work, go ahead an hull strawberries and cut into fourths, rinse berries, sliced peaches into 1 inch pieces, or de-pit cherries. I didn’t have a cherry pitter so I did a whole pint by hand. It was super fun. Put the fruit in a mixing bowl and toss with the sugar, cornstarch, and a pinch of salt.
- Divide the fruit mixture in two and plop them in the middle of each of the pie crusts. Some of the powdery mixture will be leftover in the mixing bowl, which is totally fine. Take the edges of the pie crust and gently fold them over each other going in one direction, so it makes kinda a pinwheel with about half of the berries’ total surface area covered. This is supposed to look super rustic, so just go it! No need for do overs.
- Beat an egg with a splash of water and brush over the top surface of the pie dough with a brush. If you don’t have a brush, be ratchet and gently drizzle and rub it on with your fingers. You don’t want to skip this step, trust me, your pies will come out all pale and pasty looking. Not great. Bake at 425 degrees F for 25 minutes.
- While the pie bakes, whip the goat cheese, heavy cream, and a pinch of salt in your fancy pants Kitchen Aid mixer (or use a hand mixer. If all you have is a whisk I guess you’re fucked). It should be soft and luscious but not super airy, kinda like Cool Whip, and taste like the most delicious thing you’be ever tasted. You can use this goat cheese crema in a million different applications–its light tang tastes amazing with sweet berries, but it would taste amazing in savory dishes like beet salad, on a baked potato, dolloped over a soup, or with any roasted veggie you can think of.
- Cut the pies in quarters and serve with the crema and mint leaves for garnish.
*Note: when you bake, it’s almost guaranteed that some of the berry juice will overflow, jacking with the instagram-worthiness of your final product. This my friends is why mint sprigs are you BFFs. Artfully cover them up and you’re good to go.
Remix The Dish: this would be so clutch if you omit the sugar and use cherry tomatoes or carmelized onions as the filling instead. Garnish with basil!


